Thursday, 9 January 2014

Lacy Wedding

Hi!

I've got a little pretty for you today that I found while trying to sort my photos that I forgot about. My cousin had asked quite a while ago now, if I could make her a wedding card. I hadn't had a chance to craft much with some of my new stamps and I thought it'd be a good oportunity to play and experiment a bit. I was so super pleased with the outcome, I hope you like it too! 


Stamp Set: Chalk Talk, Label Love
Ink: Baked Brown Sugar, Crisp Canteloupe 
Cardstock: Whisper White, Crisp Canteloupe, Baked Brown Sugar, Vellum
Big Shot: Chalk Talk Framelits, Beautifully Baroque
Punch: Artisan Label, Owl Builder
Accessories: Tea Lace Paper Doilies, Pearls
Baker's Twine: Whisper White
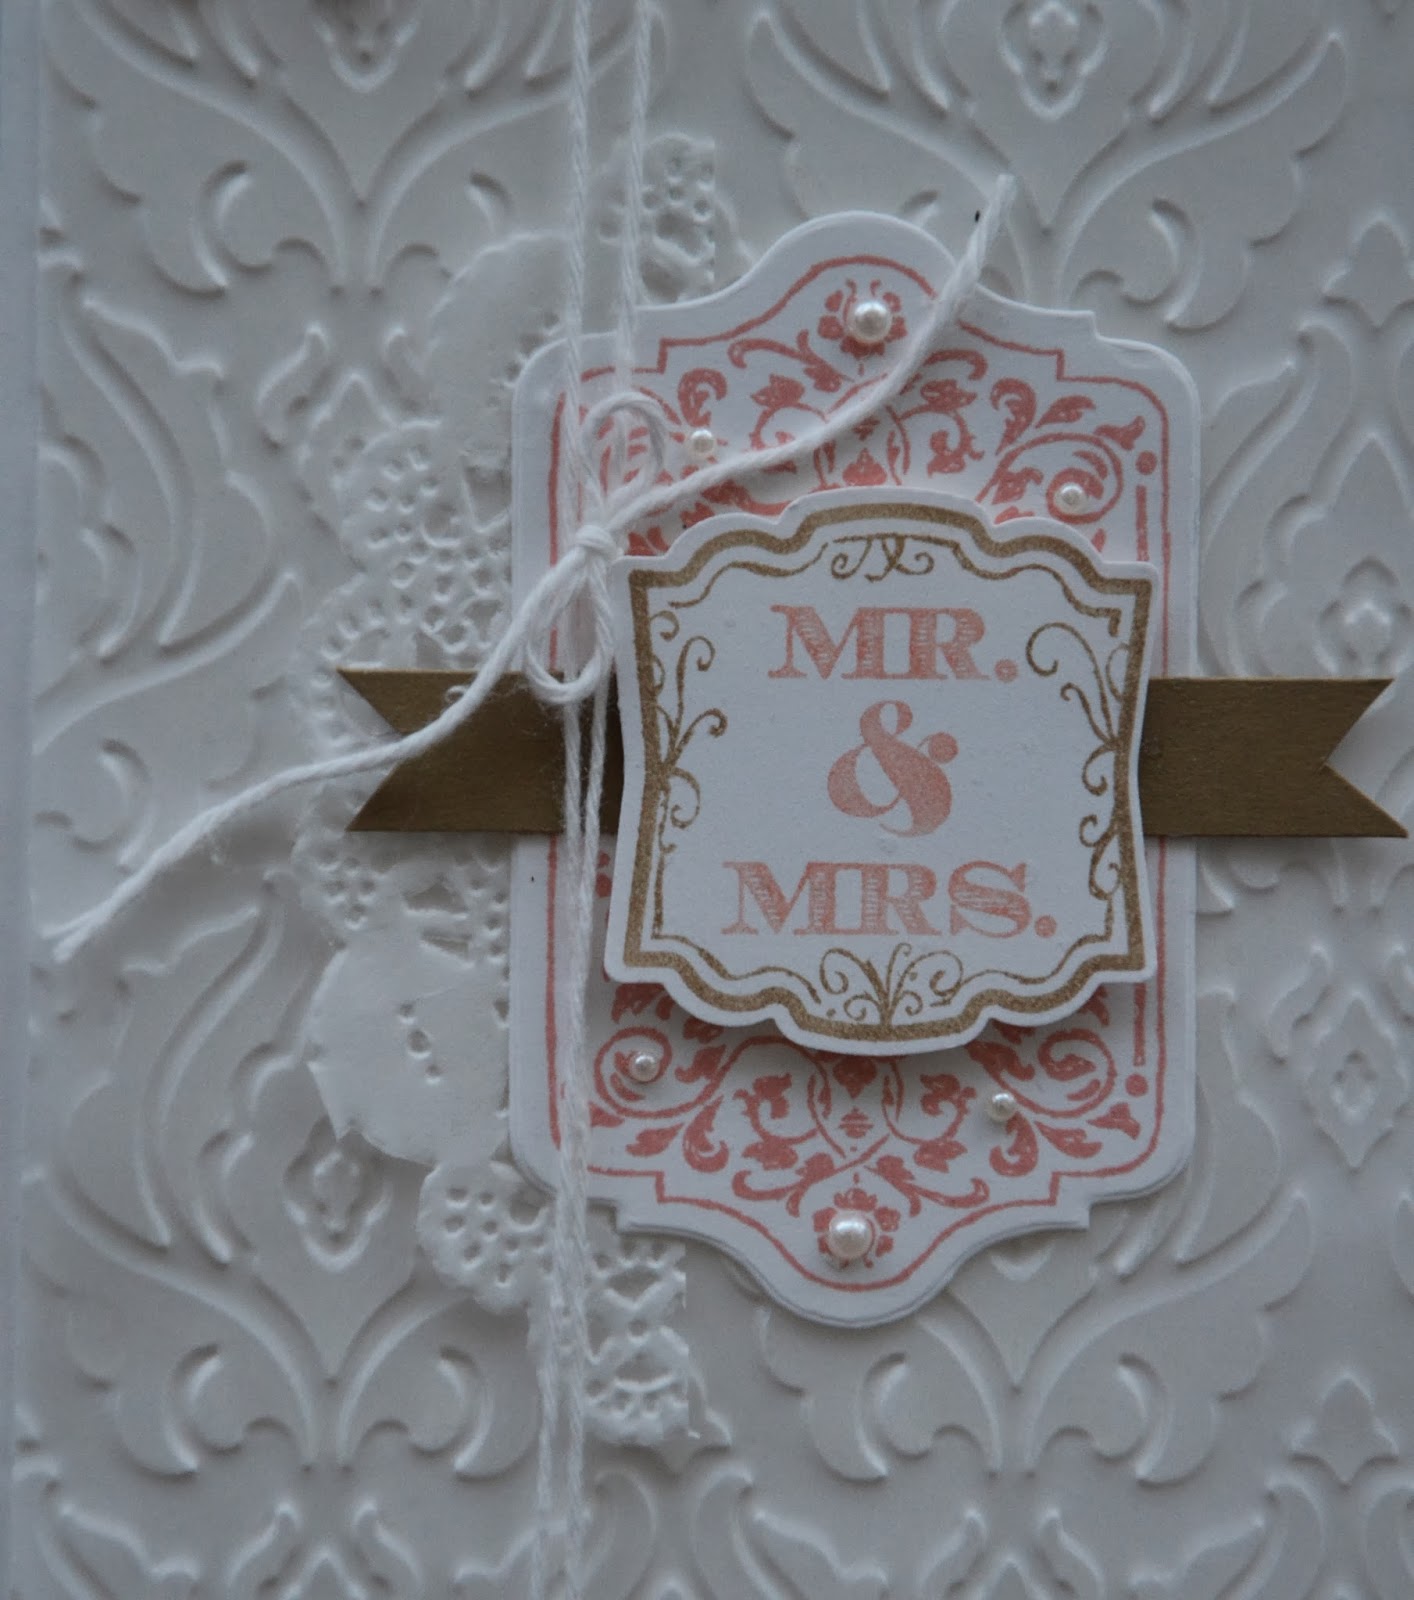

I think this card just oozes elegance. I love all the different textures and layers that somehow look effortless. the tiny hearts were totally neccessary - they balance the card beauitfully and just draw the eye out to the corners - plus, I just love the heart. I think the owl punch was worth getting just for the heart alone! 

I've found that embossed vellum on Whisper White card is just beautiful - it has a wonderful quality I'm not sure photos are doing justice. It looks ethereal and lacy - perfect for a wedding, right?!

I must say I think Crisp Canteloupe might be my new favourite colour, I just can't put it down lately! Pear Pizzazz, you better watch out, there's a new crush in town! 

I hope you enjoyed this little creation today, I'll be back soon with more pretties. 

Happy Stampin',

Amanda xo

Wednesday, 8 January 2014

My Little Spotlight!

Hi there!

Each week Inky Fingers gives one of their designers a little spotlight, where you get to know a little more about the designer and we get to share a beautiful little project we are proud of. This week it happens to be mine. 

So, for those of you who are new to this blog and me, my name is Amanda. I am married to my wonderful hubby Stuart and we live in a little house in Northampton, England. 

Stuart is a teacher at a local high school and I am a lady with many strings to my bow - housewife, carer for an elderly relative, an exam invigillator at a high school and working hard at my little Stampin' Up! business too! Yes, I am one busy lady! I have been a demonstrator for very nearly 3 years and loving it! 

The project I have for you today is something I am running as a class later this month. It's using the Sweetheart Treat Bags - which are part of the Valentine's promotion. Unfortunately, Valentine's isn't as big a thing as it is over Stateside so I've been racking my brains for a few little ways to use the products with a little bit more versatility.


Stamp Set: Language of Love
Ink: Pool Party, Crisp Cantelope, Real Red
Cardstock: Whisper White, Pool Party
Kits: Sweetheart Treat Bags
Punch: Small Heart Punch
Accessories: Tea Lace Paper Doilies
Extras: MDS


 I've made mine into a little mini album. This would be perfect for giving as a nice Valentine's gift or for an anniversary. Alternatively it would look sweet filled with photos of the children/grandchildren. Mine, however, is filled with odds and ends - motivational quotes, funny pictures, verses...basically anything that makes me happy!


At the beginning of a new year, we see it stretch out before us - the possibilities are almost limitless! Its easy to feel optomistic about life but all too soon, life gets the better of us and its difficult to remain upbeat. I really struggle to stay positive and keep going when things get rocky so I thought making a little motivational album like this would be perfect. When I feel lonely or down I can read through it and remind myself how good life is!

What's great is its still got lots of spare room for more verses, quotes and funny photos! What do you think to this idea? Isn't it fun?


So, I'm running this as a class on Friday 24th (7pm-9:30pm) or Monday 27th (9:30am-12pm) or (7pm-9:30pm). It costs £18 and includes a pack of the treat bags, cardstock, tea lace doilies and the small heart punch - a product total worth over £15!

Please book by January 18th so I can order your goodies in time!

I hope you enjoyed this project. I'll just leave you with the ever so cute little Valentine Monsters I repurposed for little Christmas gifts for all the little kids I know!


Happy Stampin',

Amanda xx


Monday, 6 January 2014

Inky Fingers Challenge 1

Hi! 

Some of my faithful readers may know that over the past year or so I've been making projects and tutorials for the Inky Fingers Club for their subscription only special sessions. This year I am joining the weekly challenge design team for the year so not only will I be making some beautiful projects an tutorials 3 times a year for the special sessions but also a card (or other project) a week for their weekly challenge! I am really excited and hope you'll join in! 

A new challenge is released every Monday. The first challenge is a colour challenge! 


I've got to admit I did wonder what I was going to do. They're all nice colours but not ones I use much and certainly not any of my "go to" colours of choice! 


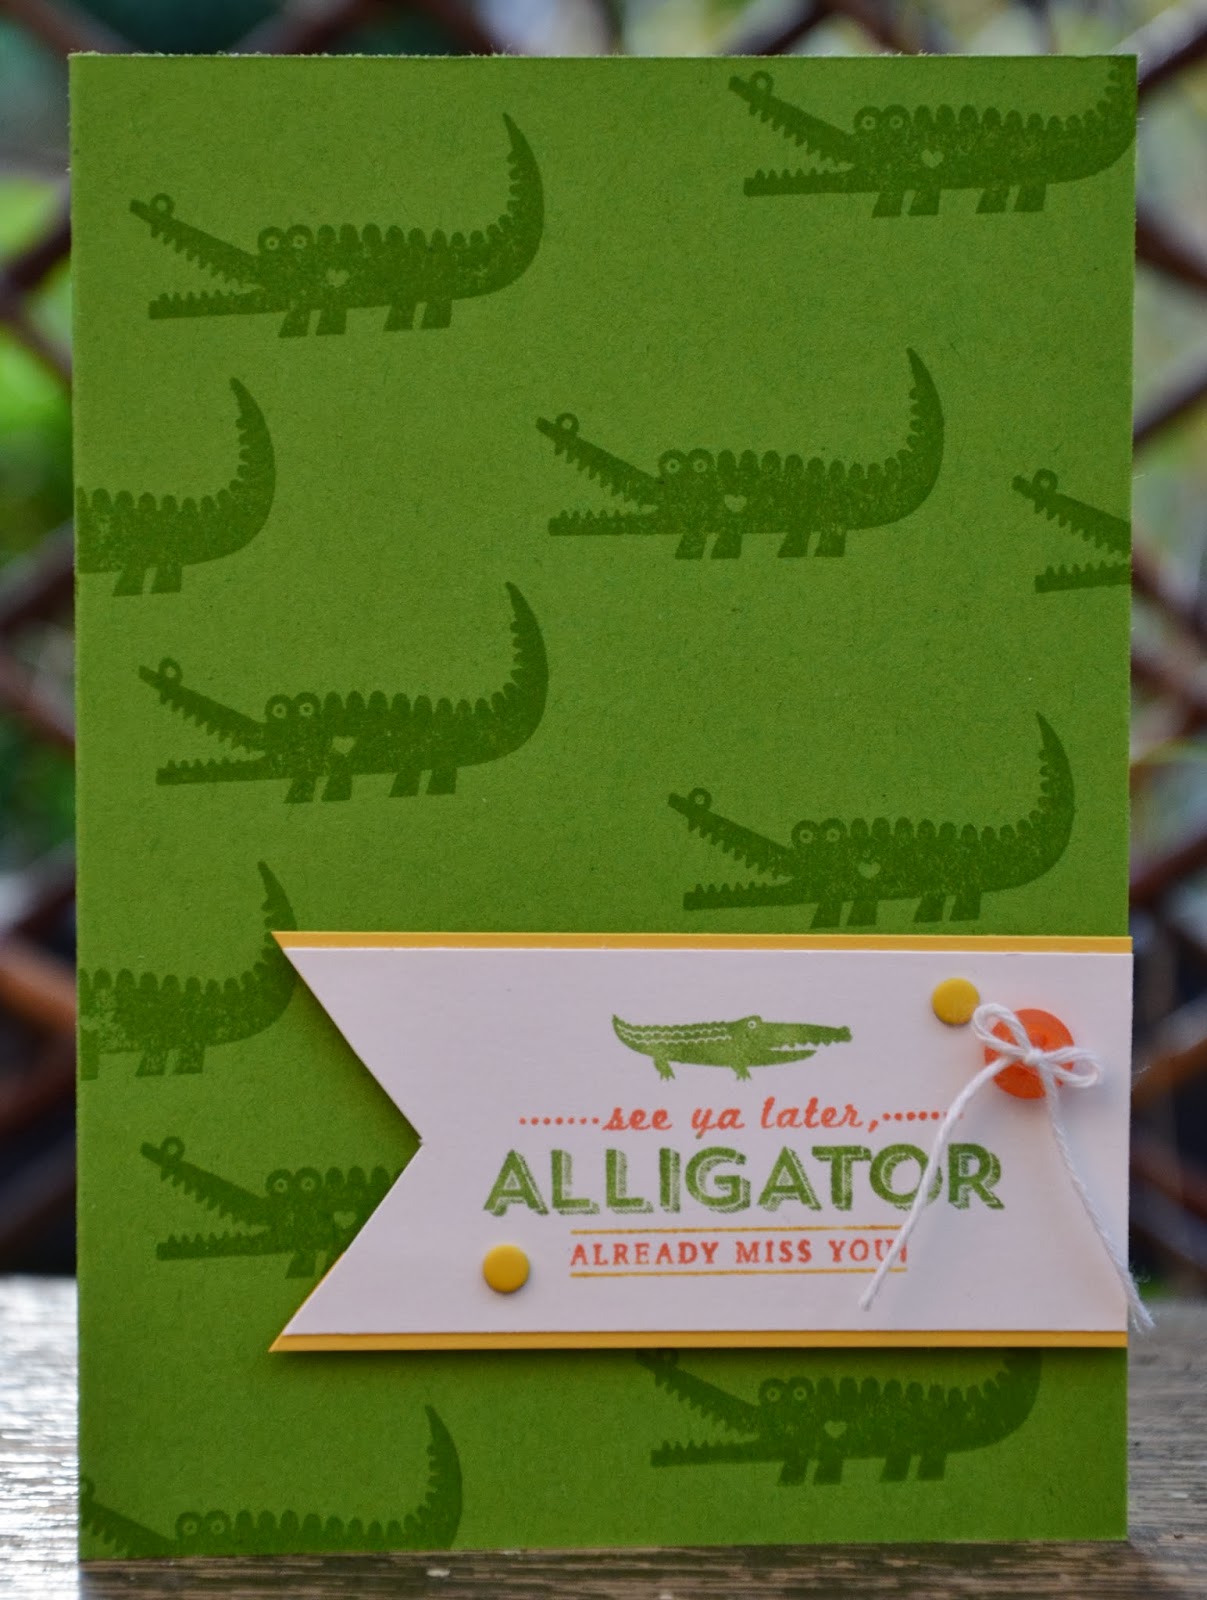
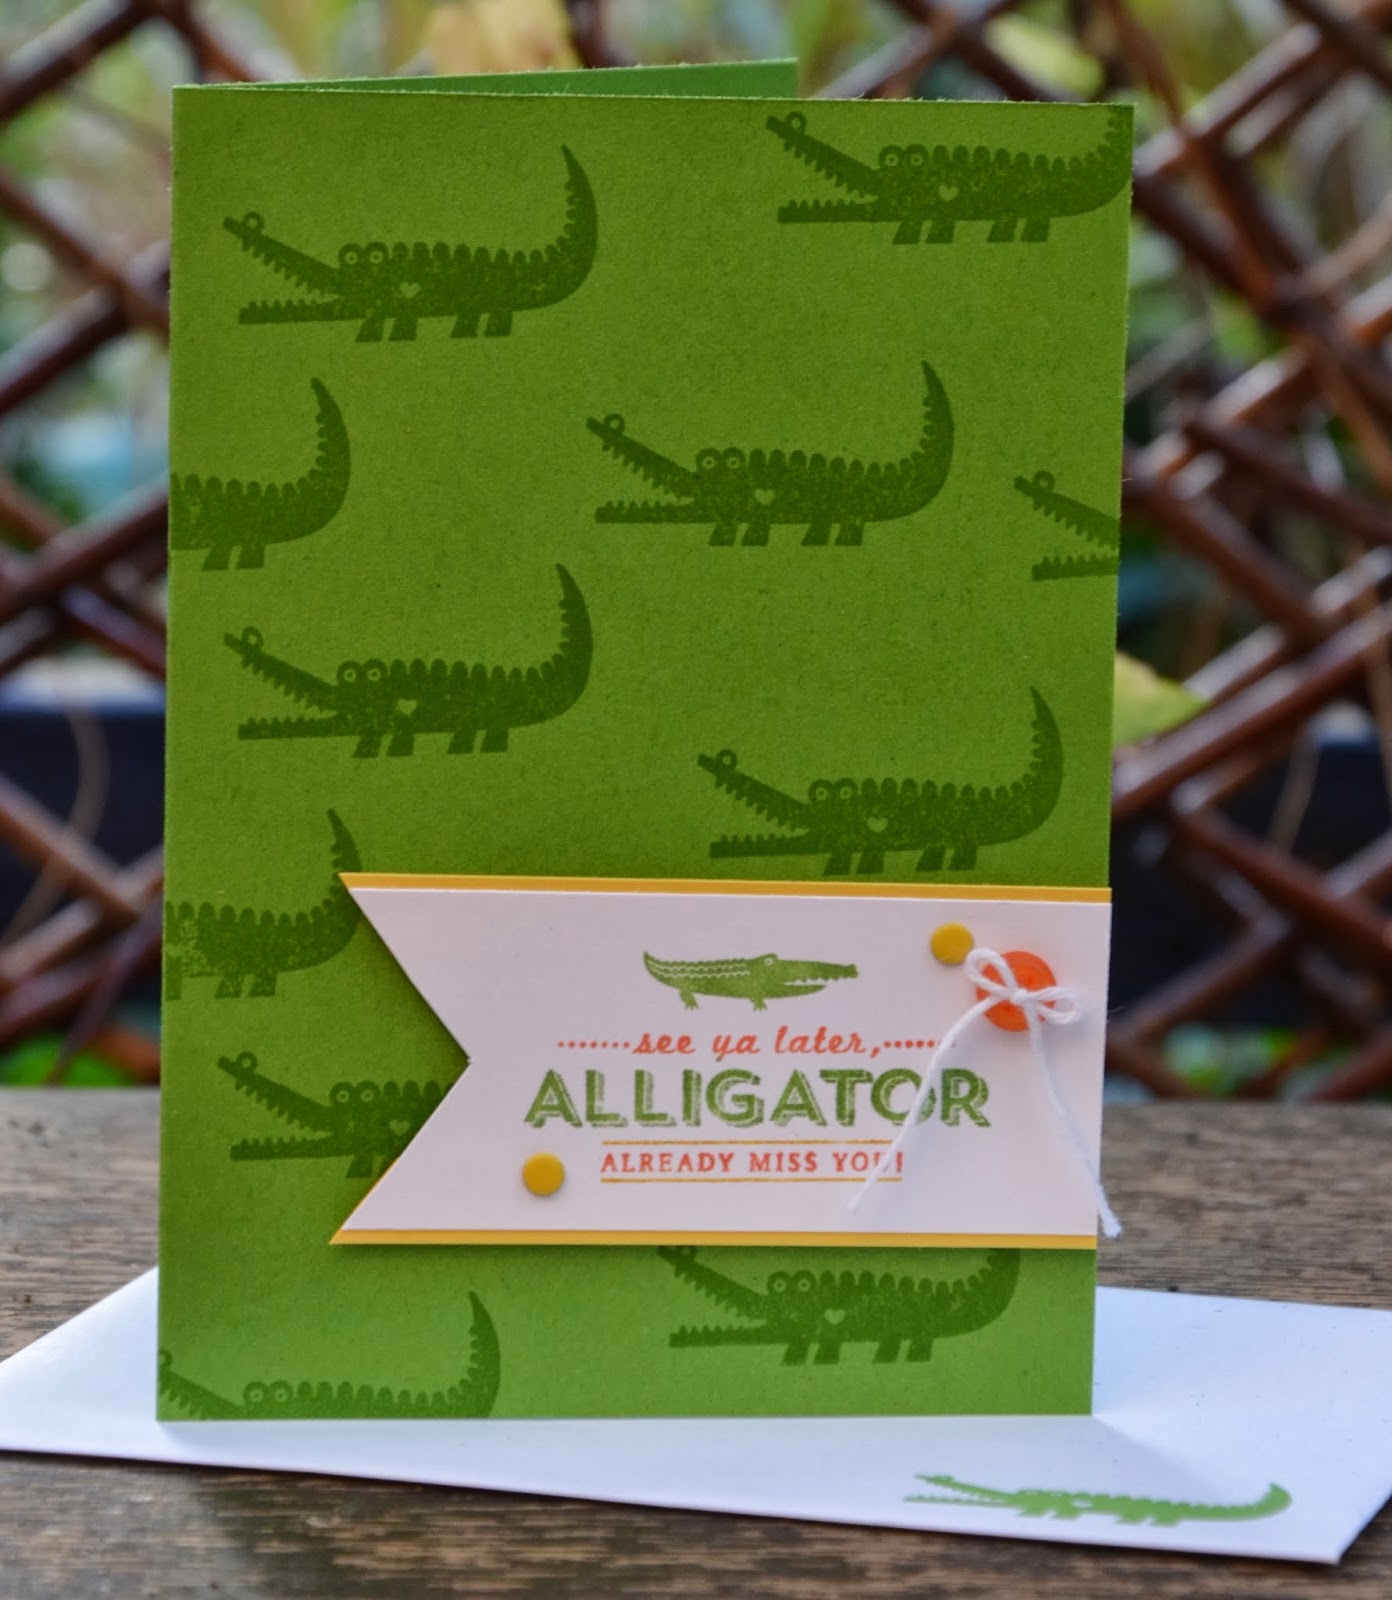
Stamp Set: Zoo Babies, See Ya Later (SAB), Sweet Essentials
Ink: Gumball Green, Tangerine Tango, Daffodil Delight
Cardstock: Gumball Green, Daffodil Delight, Whisper White
Accessories: Brights Buttons, Brights Candy Dots
Baker's Twine: Whisper White


The Gumball Green struck me as a really good alligator green which worked perfectly with one of the stamps from a SAB set I got on preorder - isn't it cute?! You too can earn this set and many other stamps and accessories for free from January 28th!! 

The Zoo Babies croc paired nicely to create my own patterned background for the alligator sentiment. Also its a lovely way to use the Zoo Babies for a non-baby card!! Oh I do love versatile stamps!!


Tangerine Tango and Daffodil Delight worked really well as subtle accents and really make the sentiment pop amongst all that green! 

I'd really love it if you'd participate and enter something using this colour challenge too. I can't wait to see what you create. 

Happy Stampin',

Amanda xx

Friday, 20 December 2013

Monster Hugs

Hi! 

Sorry its been a little while, its been super busy around here - invigillating lots of exams, and sewing and baking like a crazy lady to get things done in time of Christmas. I feel like I've been walking through quick sand, slow progress and a never ending list of things that NEED doing NOW!! Thankfully its almost Christmas and then all this madness will be over. We can all relax and enjoy the day! 

I just had to share the Monster Hugs with you today because I totally LOVE them! 

These are part of the Whole Lot of Love promotion Stampin' Up! has running for Valentine's Day. The products are available from 1 December til 28th January. 

Now I know that Valentine's isn't as big a deal over here as it is State side but I assure you its worth checking out as there are a couple of super sweet stamp sets and accessories that can be used for other occassions as well as Valentine's projects! I have several things coming up for you to check out in the days to come but today I just HAD to share with you my favourite new product - Monster Hugs. 


These little cuties come already cut nd with a sticky strip on the tummy - just peel off the covering and stick on whatever treat you'd like your little monster to hug. The arms wrap around and slot together. You also get googlie eyes and sticky hearts to accent your monster. 

The back has a little to and from label plus a cute little butt which is sure to tickle and kid! 


I just couldn't wait to use these and thought they'd make fun holder for a candy cane, so I've made a bunch to give to all my friends and families' kids. 

These come in packs of 18 for £5.50 (Boys and Girls sold seperately) which works out at 30p each! Such a steal! They took literally minutes to whip up a whole bunch and I think the kids are going to love these!

These would make a fantastic favour for a kid's party, or Valentine's, Easter....or any other occassion you can think of that you just want to give out some sweeties to kids but want them a little more dolled up than just a handful of plain sweets. 

Do you love these as much as I do? I really hope you do! Stock up and buy a pack or three, I know you won't regret - they're only available until January 28th  or while stocks last so you need to catch them while you can! 

Have a great evening and I promise I'll be back again soon with more creative goodness! 

Happy Stampin',

Amanda xx


Monday, 9 December 2013

Watercolours & Sneak Peek!

Good afternoon! 

What a pleasant day it is! The house is finally decorated - we'd had our tree sitting bare in the living room for a week so it felt really good to get some light and decorations on it! Don't you just find having a Christmassy house really helps get you in the Christmas spirit? It does for me! 

This morning I have been baking cookies - well, to be more exact I've made a few batches of cookie dough that are chilling in the fridge while I take a wee lunch break, sort out an order that arrived today and write this little post. 

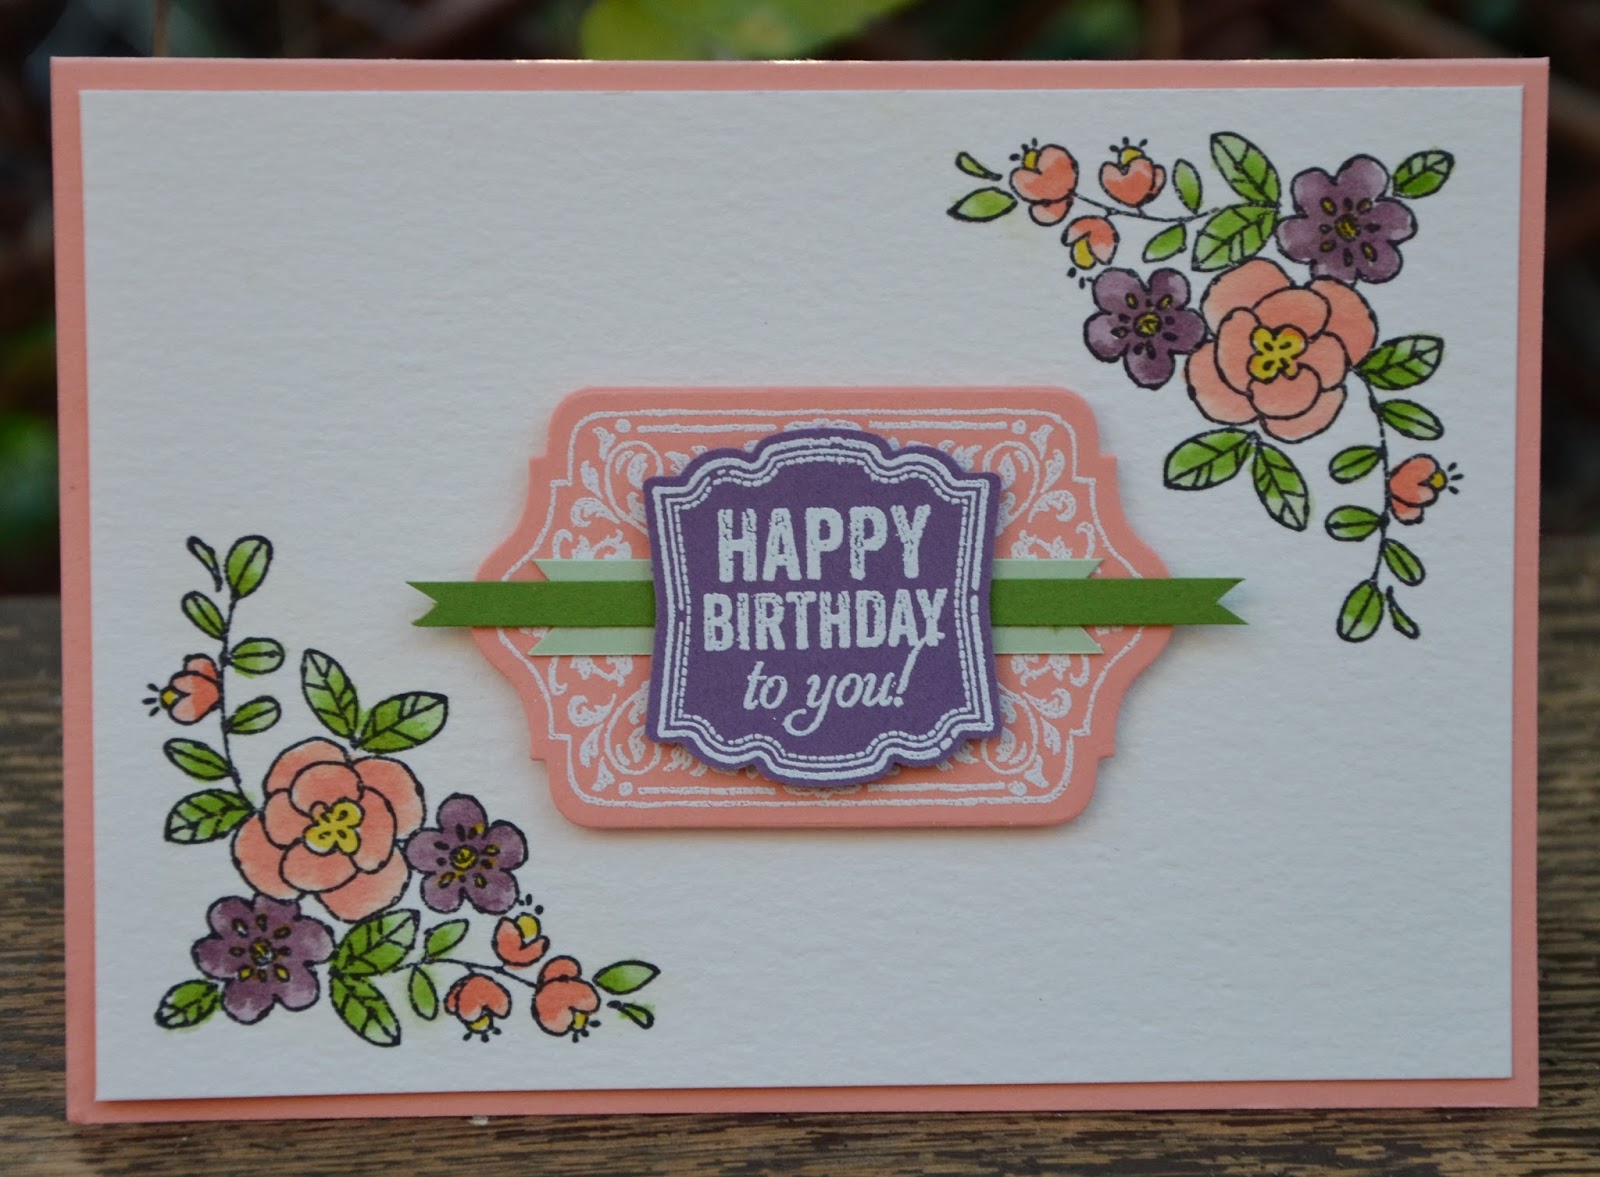
Today I have a card I made a week or so ago for my lovely friend Vicky. This stamp set is a new one which will be in the Spring-Summer Seasonal catalogue which launches on January 28th! I was the lucky winner of this set, So Very Grateful, at Convention during Prize Patrol - I always knew I loved Pool Party (that was my winning colour wrist band)!!


Stamp Set: So Very Grateful, Label Love, Chalk Talk
Ink: Black Stazon, Crisp Canteloupe, Perfect Plum, Pischio Pudding, Gumball Green, Daffodil Delight, Versamark
Cardstock: Watercolour Paper, Crisp Canteloupe, Pistachio Pudding, Gumball Green, Perfect Plum
Punch: Artisan Label
Big Shot: Chalk Talk Framelits
Other: White Emboss Powder, Aquapainters 


This was quite a simple card really as I really wanted to showcase the beautiful flowers and some nice watercolouring! I shall be adding a short little video (from a new series of videos) on how to do this watercolouring with the awesome aquapainters! Have you tried them? They're wonderful! 

I'd origionally stamped the chalk talk and the sentiment in the centre just in White Craft ink but it just didn't have that pop and clarity that I was really after so I did go back and re stamp, get out the heat too, embossing powder etc. I've got to admit, I don't do much embossing, not because I don't like it but it is a bit of a faff. Having said that I am SO glad I did re-do this element as it really did give it that extra little touch the card was needing. 

I hope you enjoyed this sneak peek. I am in LOVE with this set so you'll be sure to see more creative inspiration with it in the coming days! 

Have a beautiful Monday,

Happy Stampin, 

Amanda xx

Thursday, 5 December 2013

Everyone Loves a Surprise!

Hello, 

I recently got a couple of new downline members and I wanted to give them something nice to say welcome to the team. My friend Esther who signed up lives quite a distance away and as she's starting out I thought it'd be nice to send her a few swaps from Convention plus a welcome card and gift. Here's what I made her!

Decorated Monogram Notebook & Matching Pen
Stamp: Beautifully Baroque
Ink: Crisp Cantaloupe
Card: Crisp Cantaloupe, Silver Glimmer
DSP: Venetian Romance
Punch: Bitty Butterfly, Elegant Butterfly
Big Shot: Typeset Alphabet
Ribbon: Pistachio Pudding Ruffle, Whisper White Baker's Twine
Accessories: Pearls


 And of course there's always a card to accompany a gift...

Flip Card!!!

Stamp Set: Petite Pairs, Beautifully Baroque
Ink: Crisp Cantaloupe, Baked Brown Sugar
Card: Whisper White, Crisp Cantaloupe, Baked Brown Sugar, Vellum
Punch: Small Heart, Owl Builder
Big Shot: Label Card Thinlits, Label Framelits

The Label Card Thinlit is a new-ish product for Stampin' Up! but its new to me. As I'd only just recieved it I just HAD to have a play and a card for Esther was the perfect opportunity! If you're wondering what is so special about the thinlit card dies, let me tell you, it makes FLIP cards!!! Its so easy to run through the big shot and out comes a cut and scored flip card. LOVE IT!


I stamped the Beautifully Baroque stamp on the Vellum - I wanted a frosty lacy look and being the impatient person I am I didn't wait long enough for the ink to dry and got it smudged a bit so it ended up looking a little worn and vintage. The banner is one of the accessories the thinlit card comes with - how awesome!! A few little hearts just completed it nicely!

If you're inteerested in joining the Stampin' Up! family and my team, you'll not only get a little welcome gift from me but you'll get all the joys of being a demo too!! Sneak peeks, pre-order, ability to make some extra income and possibly the best of all DISCOUNT on all your crafty goodies! Oh yes, I LOVE being a demo!! Contact me today for more info on signing up!

I hope you enjoyed seeing Esther's special things today. Come back soon for some more pretty makes! 

Amanda xx


Wednesday, 4 December 2013

Feeling Thankful

Hello there!

Sorry I've been quiet a few days. Things are getting really busy around here. Christmas is only a couple weeks away, there are presents and ornaments to finish making, cookies to bake, the house to decorate, classes to organise...
Not to mention wedding stationary to finish (actually I have just finished the invites today! One huge item to tick off my ever growing to-do list!). And now MOCK GCSEs have begun at the school so I am busy invigillating pretty much every day this week and next. 

Anyway, this past weekend was Thanksgiving - the American folk get Thursday off for it but as we don't here in England we have to hold off and wait a couple extra days to celebrate on the Saturday. Its always as my parents but I do the decorating and bake a couple dishes too. I just thought I'd share a little of our celebrations with you!

The Table - flowers, pumpkins, squashes, dried corn, cranberries and leaves were the centre piece. Oh and of course the pilgrim and american indian.
Place Setting
I used Stampin' Up!'s place setting kit which is in the Autumn-Winter Seasonal Catalogue. It gave everything I needed to make some beautiful and quick settings. All the peices came pre-cut and scored so it was a sinch really. 
Inside the pocket was space for a napkin and a pretty lined sheet of paper to write down all the thing we were thankful for. 
Table favours for everyone. 
I deviated slightly from the kits suggestion here. Included were little cards to write what food it was but the table gets pretty crowded and everything gets passed around I decided I didn't want them. Also I really wanted something nice to pop a few choccies in for after dinner/to take home, so I did a little adapting and whipped these up. 
I did add a couple things that weren't included in the kit - a little Vanilla and Crushed Curry cardstock, a stamp from Trust God, Espresso and Tangerine Tango ink and a bit of doily, plus I used the Artisan Label and Chalk Talk framelits. 
There was LOADS of linen thread in the kit and there were a few other bits that I didn't use so will probably make them into cards when I find a spare moment. 


I LOVED the chalk style banners and the precut flowers were just fantastic! A real time saver and great for the professional look for someone who might not have lots of fancy tools like the big shot! We'll be seeing a lot more of these kits from Stampin' Up! in the future and I personally love it! 

Pretty flowers!!
Pie!!!  Pumpkin (baked by my lovely mummy), Chocolate Orange, and Pecan!! Yum! 
I hope you enjoyed a little taste of Thanksgiving! 

Happy Stampin',

Amanda xx